I dyed pasta for the first time using food coloring. I used five types of pasta and I colored every type of pasta into red, blue, yellow, green, light green, purple and orange colors.
I
put pasta in a zip-lock bag, added food coloring and a little bit of
water. I closed the bag letting air inside and shook it well to make
sure all pieces are covered evenly. Then I poured water out of the bag,
added more food coloring , shook the bag again and spread it on paper
towel to dry.
I
gave my daughter a muffin pan and Gator Grabber, Handy Scooper, Twisty
Dropper and Squeezy Tweezer from Learning Resources set. She sorted
pasta by type, not by color.
When she was done, I decided to stick drinking straws into Play-Doh and asked her to sort rigatoni pasta by color.
Last time we tried painting with ice cubes my daughter was less than two years old and she did not like the process that much. I froze ice cubes with food coloring and the painting ended up being too light and washed out. Our paper could not hold so much water.
This
time I wanted to try thicker paint. I used Crayola Washable Kids Paint
with glitter. I put a spoon of paint in a muffin tray and added a bit of
water. I put the tray in a freezer for an hour and added matches after
ice was partially frozen. When ice was ready I washed it with a little
bit water to make it melt right away.
We
painted on watercolor paper which is great for any watery paint. Our
paint was a lot brighter this time and my daughter really enjoyed
the process.
We don't have a real light table at home but that did not stop me and I made a DIY one. I put a plastic bin on two chairs. There is a flashlight underneath the bin between the chairs that is positioned to illuminate the bottom of the bin. Any transparent colored objects work great on a light table as well as things that you can draw with using your fingers like sand, semolina, shaving cream and others.
First, we used pink marbles and pieces from drinking straws.
After that I put sand in the bin. We wrote letters and numbers, drew suns, flowers and other simple images.
This is what it looks like with lights on.
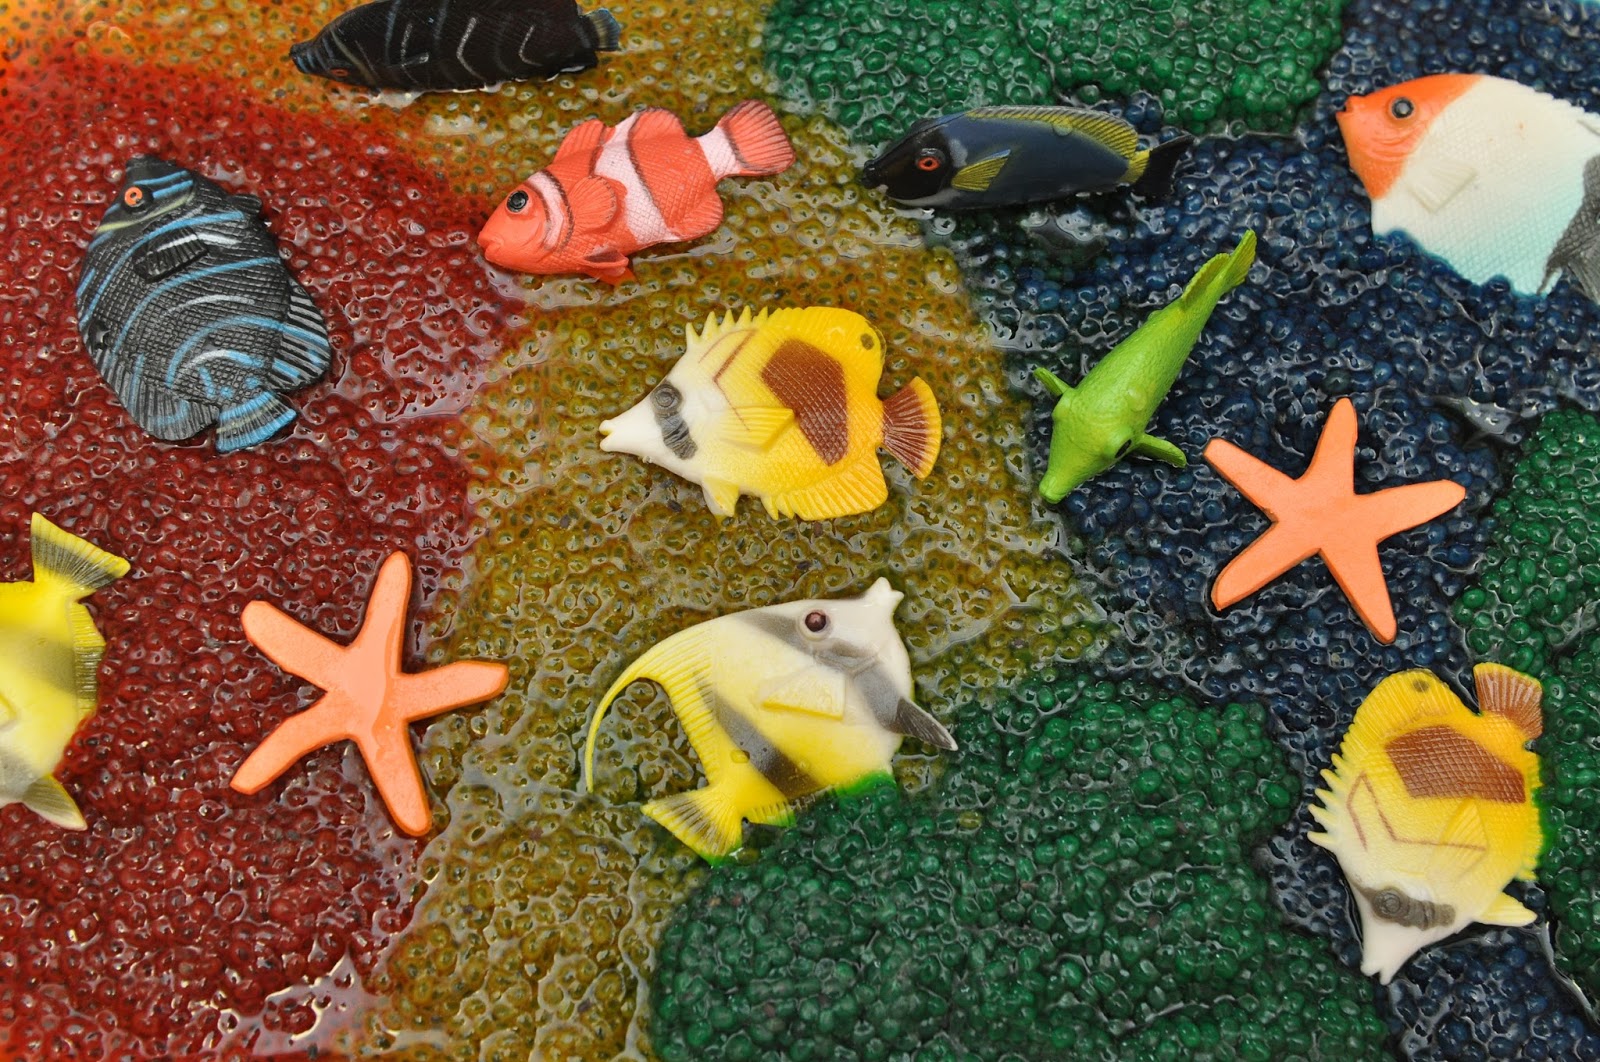
I loved the idea of making a sensory bin with basil seeds which texture and properties resemble water beads.
I found the idea and the recipe here and here. The recipe is simple: one tbsp of basil seeds, one cup of water and food coloring. Within five minutes the seeds absorb all the water and increase in size.
So here is our coral reef with fish. My daughter absolutely loved this sensory bin. She liked watching how the seeds stick to her hands and go between her fingers. There was a lot of cleaning afterwards though, so I would strongly recommend putting a plastic tablecover underneath the bin.
First, you need to soak watercolor paper in water. Then use medical dropper and liquid watercolors.
The idea was to mix colors and watch the result. I used food coloring mixed with water. I added a few drops of dish soap to the bowl with water. The more tools you give your child the more exciting the experiment will be.
We
used measuring cups, spray bottle, droppers, ice cube and muffin trays,
whisk, funnel and others. We learned to fill a dropper with water, whip
up soapy water with a whisk, pour water from one glass to another using
funnel. Spray bottle was the favorite. We filled it with different
colors and sprayed water on paper.
For this project you need a sheet of plastic. I used a transparent plastic cover from a toy box. First, my daughter covered it with a thick layer of paint and spread the paint with her hands. Then, she turned the sheet over and stamped it on a piece of paper. I washed the plastic sheet and gave it back to her to cover with paint of a different color. She stamped it on the same piece of paper. If you repeat this process a few times you will have a cool textured painting.